Welcome to our guide on how to use levels for achieving perfectly straight DIY installations. Whether you’re hanging shelves, installing cabinets, or laying tiles, using a level is essential for ensuring accuracy and a professional-looking outcome. In this article, we will explore the different types of leveling tools, provide tips and techniques for using levels effectively, and discuss the benefits of achieving straight installations in your DIY projects.
Using a level is not just about aesthetic appeal; it’s also about functionality. Straight installations provide stability and durability, ensuring that your items or structures are securely anchored. Additionally, properly leveled installations prevent doors from swinging open or closed, allow drawers to glide smoothly, and create an overall cohesive look in your space.
Key Takeaways:
- Using levels is crucial for achieving straight and accurate DIY installations.
- Straight installations provide stability, functionality, and a professional appearance.
- There are different types of leveling tools available, each designed for specific tasks.
- Clean contact surfaces and proper level positioning are essential for accurate measurements.
- Levels can be used for both horizontal and vertical installations.
Understanding the Basics of Various Leveling Tools
When it comes to achieving perfectly straight and level installations in your DIY projects, having the right leveling tools is essential. In this section, we will explore the basics of different leveling tools, including spirit and laser levels, carpenter levels, torpedo levels, and mason’s levels. We will also discuss the advantages of upgrading to laser levels, which offer high-precision measurements and improved accuracy compared to traditional spirit levels.
Disclaimer:
Our recommendations are based on extensive experience with and/or knowledge of these products, and we do so not because of the modest commissions we could earn but rather because we believe they are actually beneficial and useful. We are honored to be these tools' affiliates. We might receive commissions from Amazon, and other merchants when you buy something after clicking one of our links. Our affiliate policy is covered in more detail here. If you don't think these things will help you accomplish your goals, please don't spend any money on them.
Introduction to Spirit and Laser Levels
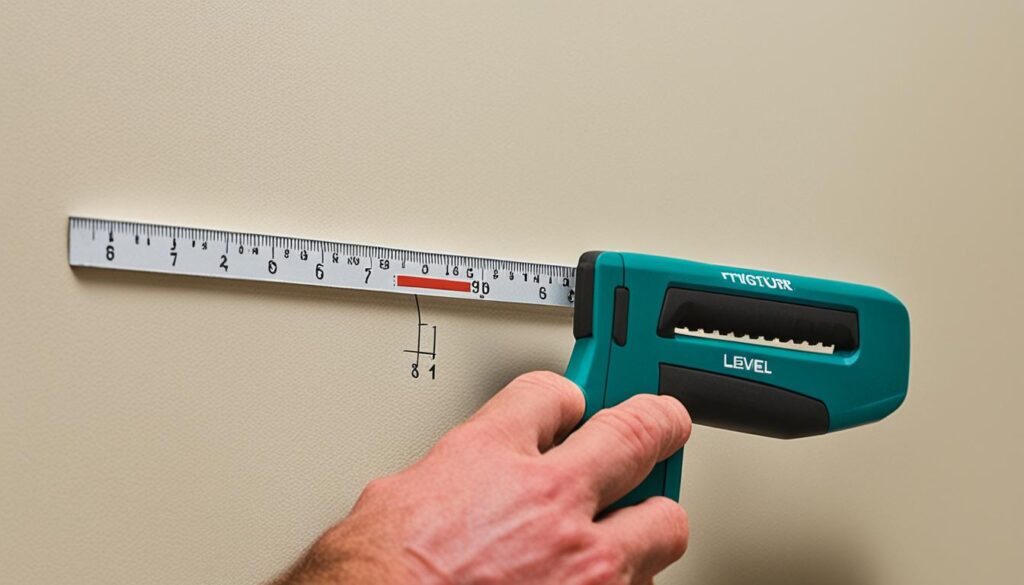
A spirit level, also known as a bubble level, is a classic tool that uses a liquid-filled tube with an air bubble to indicate whether a surface is level or plumb. Spirit levels are simple and reliable tools that have been used for centuries. They are suitable for many DIY projects, from hanging pictures to installing shelves.
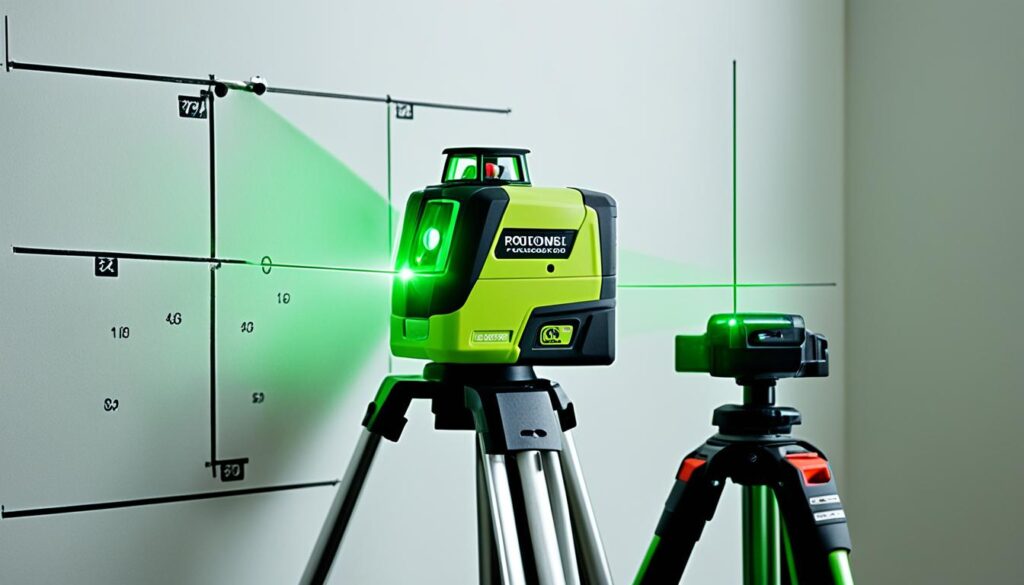
On the other hand, laser levels are innovative leveling tools that use laser beams to project a straight line or dot onto a surface. Laser levels offer precise and accurate measurements, making them ideal for complex projects requiring high precision levels. Laser levels can be used indoors and outdoors, making them versatile tools for various DIY applications.
Differences Between Carpenter, Torpedo, and Mason’s Levels
Carpenter levels, also known as box levels, are longer and heavier spirit levels commonly used in carpentry and construction projects. They typically range in length from 2 to 8 feet and have multiple vials for measuring horizontal and vertical levels simultaneously. Carpenter levels are perfect for larger-scale projects that require accurate leveling over greater distances.
Torpedo levels are small, compact levels that are easy to carry and handle. They are commonly used by plumbers, electricians, and HVAC technicians due to their size and versatility. Torpedo levels often have magnetic edges, making them convenient for hands-free operation.
Mason’s levels, also called bricklaying levels, are specialized levels designed for bricklaying and masonry work. They typically have one vial and are shorter in length, allowing them to be easily maneuvered in tight spaces and around corners.
Advantages of Upgrading to Laser Levels
While spirit levels are reliable and widely used, laser levels offer distinct advantages that make them a popular choice among DIY enthusiasts and professionals alike.
- Precision and Accuracy: Laser levels provide highly precise measurements, ensuring perfectly straight lines and accurate angles, even over long distances.
- Ease of Use: Laser levels are straightforward to operate, with many models featuring self-leveling capabilities and preset angles.
- Efficiency: Laser levels save time and effort by eliminating the need for manual adjustments and repeated measurements.
- Versatility: Laser levels can be used for a wide range of applications, including aligning tiles, installing drop ceilings, and constructing complex structures.
- Visibility: Laser beams are highly visible, making it easy to see and follow the alignment or leveling line, even in bright daylight.
Whether you choose a spirit level or upgrade to a laser level, selecting the right leveling tool for your specific DIY project is crucial to achieving professional-looking results. The next section will delve into the various techniques and best practices for using levels to ensure accurate horizontal installations.
| Leveling Tool | Common Uses |
|---|---|
| Spirit Level | General leveling and alignment tasks, such as hanging pictures and installing shelves. |
| Laser Level | Precise leveling and alignment in complex projects, such as tiling, drop ceiling installation, and construction. |
| Carpenter Level | Carpentry and construction projects that require accurate leveling over longer distances. |
| Torpedo Level | Plumbing, electrical, and HVAC installations in tight spaces. |
| Mason’s Level | Bricklaying and masonry work. |
How to Use Levels for Accurate Horizontal Installations
When it comes to achieving precise and level horizontal installations, proper level setup and accurate measurements are crucial. In this section, we will explore the essential steps for setting up your level, ensuring clean contact surfaces, and effectively measuring small and large objects.
Setting Up Your Level Properly
To ensure accurate level readings, it is important to set up your level correctly. Follow these steps:
- Place the level on a stable surface.
- Check the level for any defects or damage.
- If needed, adjust the level to ensure it is calibrated correctly.
- Position the level parallel to the surface you wish to measure.
- Ensure the bubble is centered within the level’s vial.
Ensuring Clean Contact Surfaces
Clean contact surfaces are essential for accurate level readings. Dirt, debris, or uneven surfaces can affect the level’s accuracy. Follow these tips to ensure clean contact surfaces:
- Remove any dirt or debris from the surface before placing the level.
- Ensure the surface is free from any obstructions or bumps.
- Use a clean cloth or brush to remove any remaining particles.
Working with Small and Large Object Measurements
Measuring small and large objects with a level requires attention to detail and proper technique. Consider the following:
- For small objects, position the level across the surface and check for levelness in multiple directions.
- When measuring large objects, use a longer level that spans the width or length of the object.
- Ensure the level remains stable and does not tilt while taking measurements.
- Adjust the level positioning as needed to achieve accurate readings.
By following these guidelines, you can ensure accurate and level horizontal installations for your DIY projects. Remember to properly set up your level, ensure clean contact surfaces, and use the appropriate level size for the objects you are measuring.
Mastering Vertical Installations with Precision Tools
When it comes to vertical installations, precision is crucial for achieving professional and visually pleasing results. That’s where precision leveling tools come in. These tools are designed to ensure straight and plumb vertical measurements, allowing you to tackle a wide range of DIY projects with confidence.
Using traditional levels for vertical installations can be challenging and time-consuming. However, with precision leveling tools, such as laser levels or vertical line spirit levels, you can save time and achieve accurate measurements effortlessly. These tools provide high-precision leveling capabilities, making them ideal for vertical projects that require precise alignment and straightness.
One example of a vertical DIY project where precision levels are essential is installing vertical tiles. Whether you’re working on a bathroom backsplash or a kitchen wall, maintaining straight and level tile lines is crucial for a professional finish. By using precision leveling tools, you can ensure that the tiles are perfectly aligned and create a visually pleasing vertical installation.
To illustrate the benefits of precision in vertical installations, consider the following scenario: You’re building a bookshelf against a wall. Using a precision laser level, you can easily determine if the bookshelf is perfectly vertical, avoiding any leaning or tilting that may affect its stability or appearance. By taking advantage of the accuracy offered by precision leveling tools, you can confidently tackle vertical DIY projects and achieve outstanding results.
So, whether you’re working on a vertical tile installation, hanging shelves, or mounting artworks, precision leveling tools are your go-to solution for achieving straight and plumb vertical measurements. Make sure to invest in these tools to elevate the quality and professionalism of your vertical DIY projects.

| Project | Precision Leveling Tool |
|---|---|
| Bathroom Remodel | Laser Level with Vertical Align Function |
| Picture Gallery Wall | Vertical Line Spirit Level |
| Vertical Tile Installation | Laser Level with Plumb Beam |
| Wall-mounted TV | Rotating Laser Level |
Getting the Most Out of Levels in Complex DIY Projects
Optimizing Use of Rotating Laser Levels for Long Distances
When it comes to complex DIY projects that require long-distance leveling, a rotating laser level is an indispensable tool. This advanced level offers superior accuracy and efficiency, allowing you to achieve precise measurements over extended distances with ease. By optimizing the use of rotating laser levels, you can streamline your projects and ensure professional-quality results.
To make the most of a rotating laser level for long-distance leveling, consider the following tips:
- Select the right rotating laser level: Choose a model with a long-range capability and high accuracy to meet the specific needs of your project.
- Ensure a stable setup: Mount the rotating laser level securely to a tripod or other stable surface to prevent any movement during measurements.
- Calibrate the level: Before starting your project, calibrate the rotating laser level to ensure optimal accuracy.
- Use the leveling features: Take advantage of the leveling features of the rotating laser level to automatically adjust for any variations in the terrain or surface.
- Follow safety precautions: Always wear appropriate safety gear, such as safety goggles and reflective vests, when using a rotating laser level on construction sites or in outdoor areas.
By following these tips, you can make long-distance leveling in complex DIY projects a breeze with a rotating laser level. Achieve precise measurements and save time, all while ensuring professional-quality results.

Leveraging Line and Dot Laser Levels for Interior Decor
When it comes to interior decor projects that require precise leveling, line and dot laser levels are invaluable tools. These compact and versatile levels provide accuracy and convenience, making them ideal for hanging artwork, installing shelves, and aligning fixtures.
To leverage line and dot laser levels effectively for interior decor projects, keep the following tips in mind:
- Choose the right type of laser level: Determine whether a line or dot laser level is better suited for your specific project, considering factors such as the layout and surfaces involved.
- Plan and mark reference points: Before using a line or dot laser level, carefully plan and mark the reference points where you want to align or hang items.
- Securely position the level: Fix the laser level firmly in place or use a mounting bracket to keep it stable during the leveling process.
- Adjust laser line visibility: Some laser levels allow you to adjust the visibility of the lines or dots to accommodate various lighting conditions.
- Check for accuracy: Double-check the accuracy of your level by using a traditional spirit level to verify the alignment.
Embrace the precision and convenience of line and dot laser levels to enhance your interior decor projects. Achieve perfectly straight and level installations, resulting in a visually appealing and professional outcome.
Utilizing Levels in Outdoor Constructing and Landscaping
Levels play a vital role in outdoor construction and landscaping projects, ensuring the proper alignment and stability of structures, pathways, and features. Whether you’re building a gazebo, constructing a garden bed, or laying pavers, using a level is essential for achieving precise and balanced results.
To utilize levels effectively in outdoor construction and landscaping, consider the following techniques:
- Site preparation: Begin by preparing the site, ensuring it is level and suitable for your project. Clear away any debris or excess soil that may affect the accuracy of your level readings.
- Select the right level: Choose a level appropriate for outdoor use, considering factors such as durability, resistance to weather conditions, and accuracy.
- Foundation leveling: Use a level to ensure the evenness of foundations, such as those for decks, patios, or concrete slabs. This step is crucial for the stability and longevity of your outdoor constructions.
- Paver installation: When laying pavers, use a level to ensure a uniform height and straight alignment. This will result in an aesthetically pleasing and functional paved surface.
- Structural alignment: Whether you’re building a fence, pergola, or retaining wall, a level will help you achieve straight lines and accurate angles for a polished and professional finish.
By utilizing levels effectively in outdoor construction and landscaping projects, you can create visually appealing and structurally sound outdoor spaces. Ensure the accuracy and longevity of your outdoor installations with the precision provided by levels.
Conclusion
Maintaining Your Leveling Tools for Lasting Accuracy
Maintaining your leveling tools is crucial to ensure ongoing accuracy and optimal performance. Regular maintenance and calibration will help you achieve precise and reliable measurements in your DIY projects. To maintain the accuracy of your tools, it is important to clean and store them properly. After each use, wipe down your levels with a clean cloth to remove any dirt or debris. Store them in a dry and secure place to protect them from damage. Additionally, consider scheduling regular maintenance and calibration with a professional to ensure that your leveling tools remain accurate over time.
Choosing the Right Level for Your Project Needs
When it comes to selecting a level for your DIY project, there are several factors to consider. First, determine the specific requirements of your project. Consider the size and nature of the installation, as well as the level of precision needed. Next, research the different types and brands of levels available in the market. Each type of level has its own features and advantages, so it’s important to choose one that aligns with your project needs. Pay attention to the level’s accuracy, durability, and ease of use. Finally, read reviews and seek recommendations from experienced DIYers or professionals to ensure you make an informed decision.
Reflecting on the Importance of Perfectly Straight Installations
Achieving perfectly straight installations in your DIY projects is not just about aesthetics. Straight and level installations also provide functional benefits and contribute to the overall professional appearance of your work. Straight walls, level shelves, and properly aligned fixtures enhance the visual appeal of your space. Moreover, straight installations ensure that doors and windows operate smoothly, and prevent issues such as uneven floors or leaks. By prioritizing level accuracy, you can create professional-looking DIY projects that stand the test of time and increase the value of your home.


